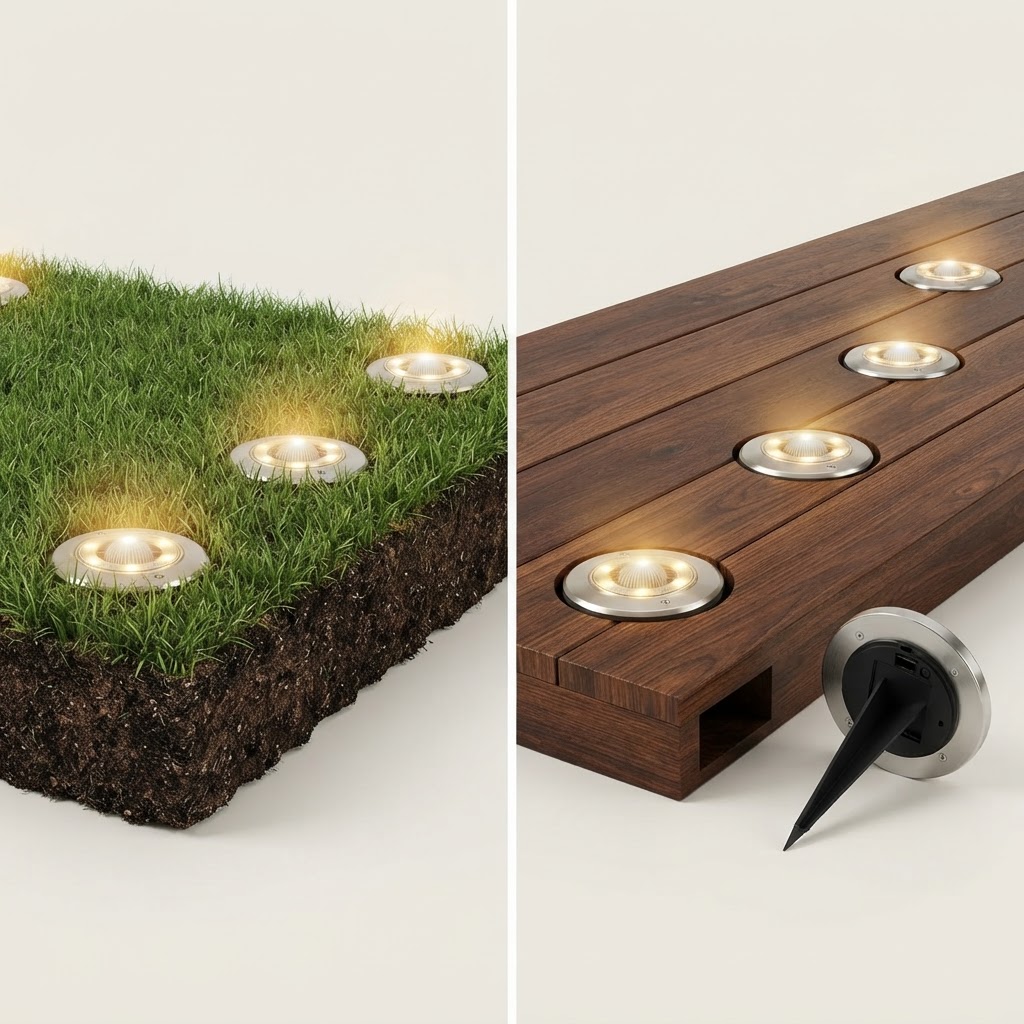
How to Install Solar Ground Disk Lights on Lawns and Wooden Decks
How to Install Solar Ground Disk Lights on Lawns and Wooden Decks
Adding wireless accent lights around your property is a simple weekend DIY project. Solar Ground Lights install in minutes with no electrical expertise, digging, or professional wiring required. Follow these steps to mount your lights on grass, garden soil, or wooden decks.
For overall planning tips on outdoor illumination, read the main guide.
Step 1: Unpack and Inspect the Fixture Parts
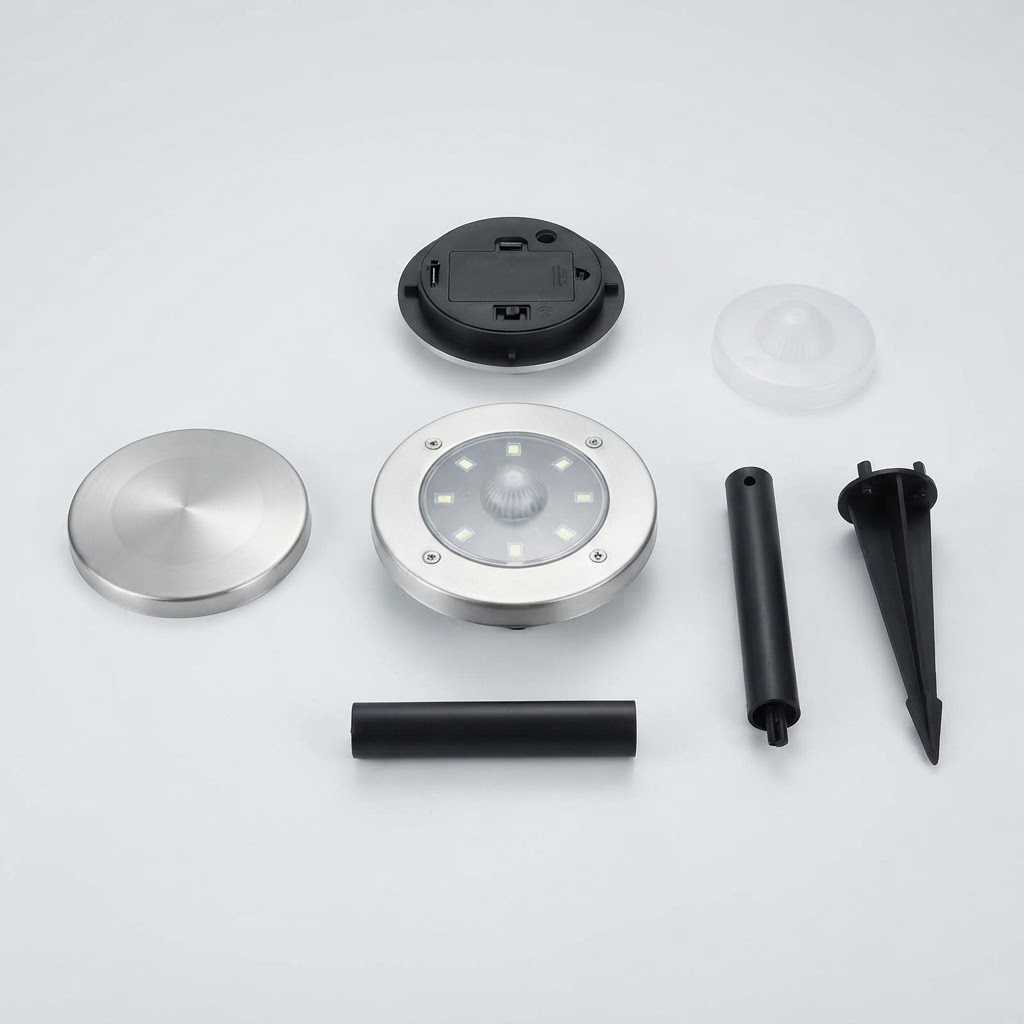
Open the box and confirm all hardware is present. Each light package includes two cross-connecting spikes plus four screws and wall plugs included. Inspect the top face of the disk, where eight warm-white LEDs per light sit in a clear ring around a central solar panel.
Step 2: Choose Your Mounting Method
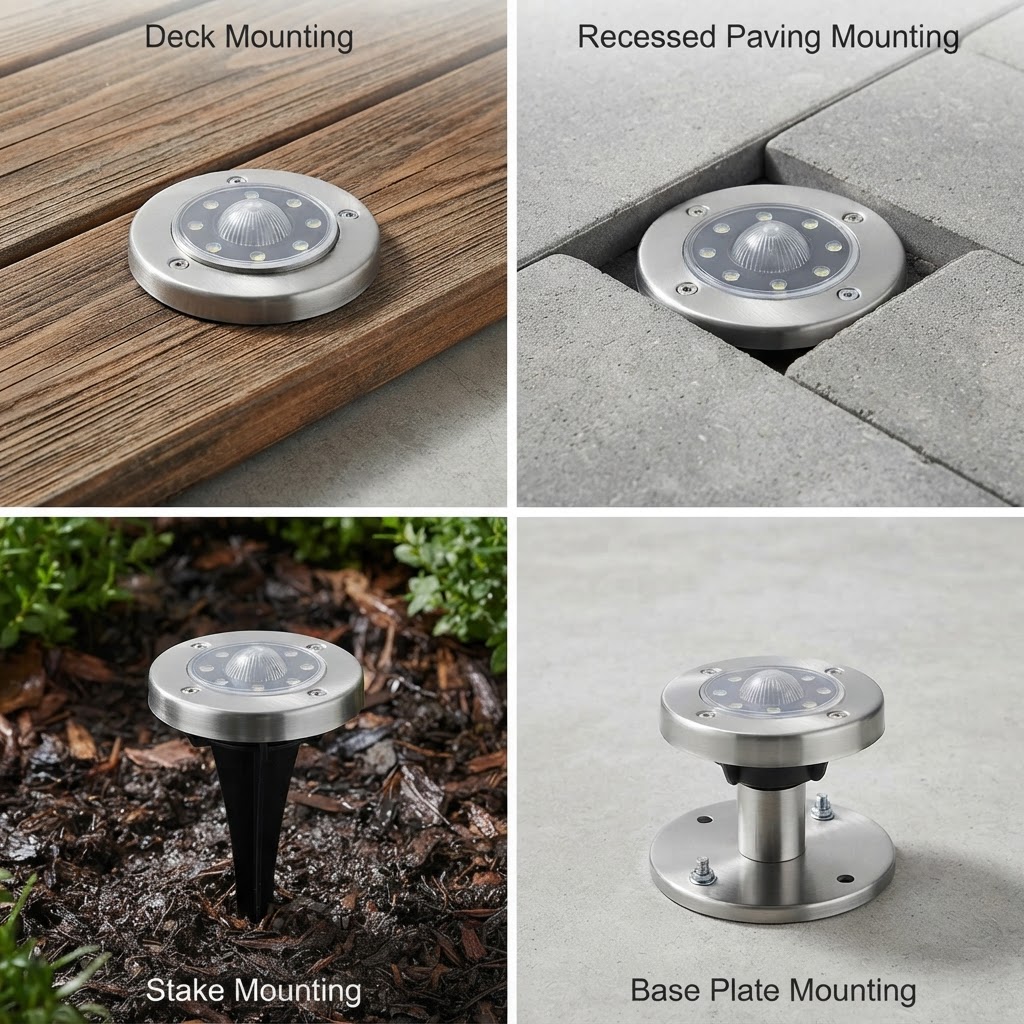
Solar Ground Lights feature 2-in-1 mounting: ground spikes or screw-down flat fixing. Determine whether your lighting location is soft ground (lawn, flowerbed) or a hard surface (decking, stair tread, or board).
Step 3: Secure the Fixture in Soil or Hard Surfaces
For soft ground, slot the two plastic spikes together to form a cross structure and push them firmly into the slots under the light disk. Press the assembly directly into soil until it sits flush, so there is nothing to trip over or mow into.
For hard surfaces, leave the spikes off. Align the light disk flat against your board or tread, mark the pilot holes, insert wall plugs if mounting to stone or masonry using a 1/4 inch (6mm) drill bit, and secure the fixture using the provided screws.
Step 4: Allow Initial Solar Charge
Once installed, verify that the automatic dusk-to-dawn light sensor is unimpeded. Allow the disk to absorb direct solar rays across a full daylight cycle to obtain six to eight hours of light from one full day of sun.
Read the full guide: How to Light a Garden Path Without Wiring: Complete Solar Guide